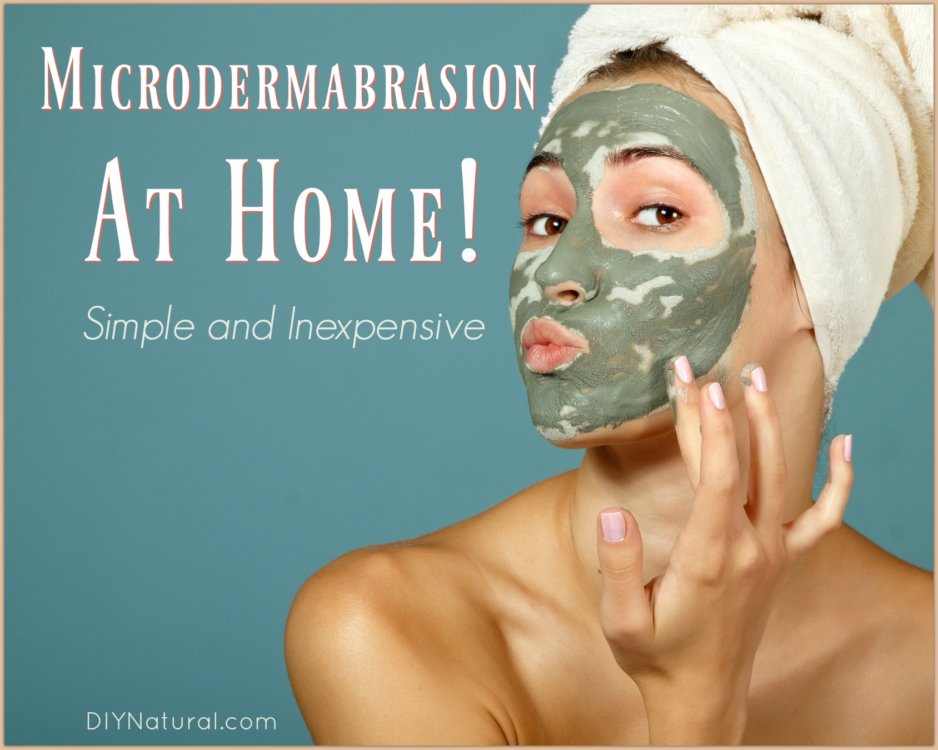

Microdermabrasion at home is easier than you think! You could go to a spa and have it done for $120+, or use this simple method to DIY at home for pennies.
A few friends recently asked me to go with them to a spa, and while it sounded like fun, I knew I could do most of the treatments myself – including the microdermabrasion at home treatment – for a whole lot less money.
Why Use Microdermabrasion Treatments?
Microdermabrasion is the process of removing the top layer of skin using very tiny abrasive particles. This is typically done with particles of silica. It may sound painful, but it’s not. The layer on top of the skin is mostly dirt and dead skin cells. Washing your face removes some of this, but not all of the stuff you want to get rid of.
Even if your face is squeaky clean, try this test: Wet a cotton pad slightly with witch hazel and wipe it over your face. You’ll notice that what you thought was clean actually still has dirt, oil, or dead skin that was left behind.
You could go to a spa (like my friends wanted me to) and have the treatment done there for upwards of $120. (Yikes!) OR, there’s a simple and easy way to do it yourself for literal pennies.
Microdermabrasion at Home Treatment
Ingredients
- 1 tablespoon kaolin clay, a.k.a. white cosmetic clay (find it here)
- ¼ cup baking soda
- 1 teaspoon activated charcoal powder (find it here)
- 1 teaspoon grapeseed oil (find it here)
- 5 drops grapefruit essential oil (find pure grapefruit EO here)
Directions
Mix all of the ingredients together and stir until it forms a paste. You may need a bit more oil so that it can “slip” on your skin. Store in an airtight jar.
To Use
To perform microdermabrasion at home, scoop out a small amount (like the size of a pearl) and spread on your face. Begin working in circles and spread over the entire face, avoiding the lip, eye, and nose area. Pay special attention to problem areas, such as acne scarring. Rinse well and follow with a moisturizer if desired.
How Does It Work?
- Kaolin Clay: provides “slip” so there is not too much friction
- Baking Soda: provides a granular texture to gently help lift grime from your face
- Activated Charcoal: draws toxins out of the skin and helps lift them from the surface
- Grapeseed Oil: provides nutrients and moisture to the skin, high in antioxidants
- Grapefruit Essential Oil: antibacterial and helps to break down dirt in a gentle manner
By concentrating on problem areas, there is an increased chance of reducing the appearance of scarring. This can be especially beneficial for those with scars, such as injury or acne. Following up with a Vitamin E and lavender essential oil mixture can also help with scarring.
It is recommended that microdermabrasion at home be done before bed to give your skin time to rejuvenate itself. Using the microdermabrasion at home treatment will help your skin form new skin cells by increasing circulation. This can cause an oily appearance during the day, so night time use is best. And the grapefruit essential oil is slightly phototoxic, which could cause increased sensitivity to sunlight in some people (so don’t use this treatment right before going out into the sun).
Have you tried natural microdermabrasion at home? What do you think?
*******

The home microdermabrasion process is a bit different from that done at a spa. It still involves using abrasives to lift and take away the top most layer of skin, which includes grime and dead skin cells. Here are two links for similar processes using similar ingredients.
livestrong.com/article/17969-make-microdermabrasion-scrub/
onegoodthingbyjillee.com/2011/10/microdermabrasion-in-box.html
I agree: this isn’t microdermabrasion. However, it is a GREAT detox mask! I actually have a similar recipe to use in your bath. You just put all of the ingredients (BENTONITE clay, activated charcoal, baking soda, Epsom salt, essential oils of your choice) into your bathwater and soak for at least 30 minutes. The detox recipe adds magnesium (Epsom salts, or magnesium flakes) It is recommended to be used just before bedtime, as it will make you sleepy …also, you need to hydrate so dink LOTS of water before and after, and BE CAREFUL, as this can make the tub slippery!
Here is the link if you want to get the other detox recipes:
http://www.herbsandoilsremedies.com/2015/07/detox-baths.html#comment-33997
Oh, BTW, I like this idea to use it as a mask and scrub. I will try this and add it to my recipes! Thanks!
I’d like to try this, but how long do you leave it on and how often can you use this treatment?
I’m not an expert or anything but I think you would leave it on at least until it dries or maybe 15 minutes like a regular mask that you would buy in the stores Hope that helps you
Cheryl is right, Debi, you can leave it on until it dries, but I usually don’t. The purpose is more to scrub, than to sit on the skin, but it won’t hurt at all to do so. Next time I do it, I’ll try letting it sit for a while and see what happens. It may end up even better!
This is a great DIY mask, but it is not microdermabrasion. Microdermabrasion involves vacuuming / suctioning dead cells from the skin. There are many at-home microdermabrasion machines on the market. However if not done properly, one can cause damage or injury.
That was the point that I was going to make, too, Sharon. This sounds like a luxurious conditioning and moisturizing mask, but nothing about it is in line with microdermabrasion. It definitely seems worth trying but not with the expectation that you will have benefits in line with microdermabrasion.