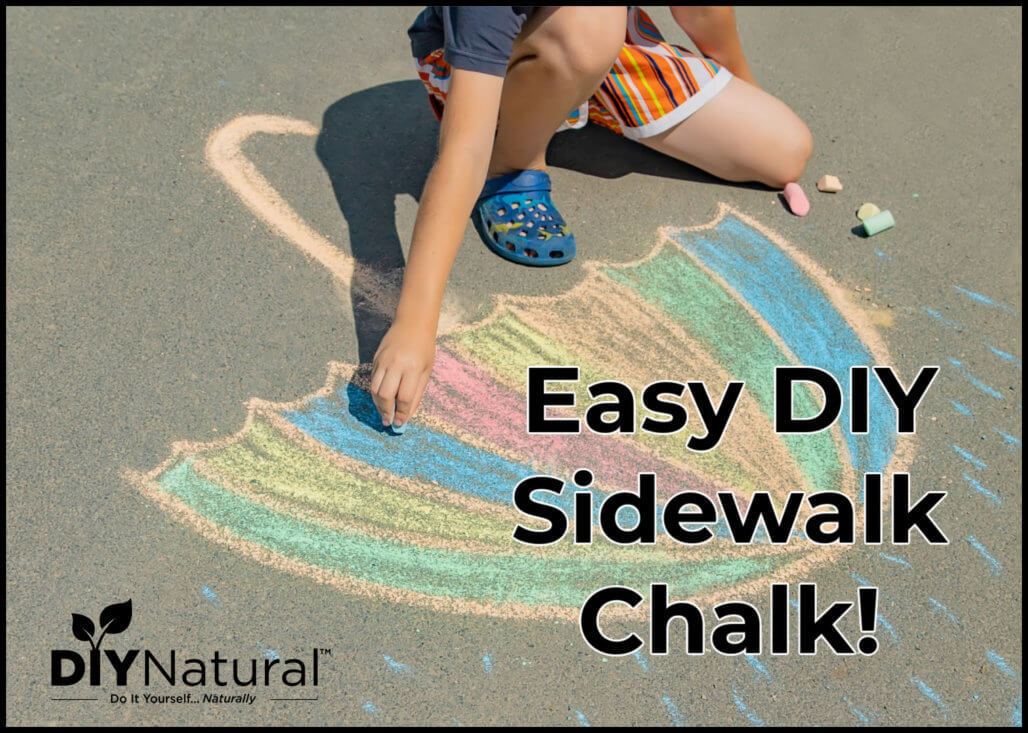
Make this Easy DIY Sidewalk Chalk today! Everything is more expensive these days and knowing how to do things yourself is always empowering.
School’s Out!
It’s almost time for the kids to be out of school. And we all know, that kids need to be kept active or they get bored. What’s one of the most fun, non-toxic things they can play with? Sidewalk chalk! Not only is it almost free to make, but you can make it in a number of colors. And the results won’t stain floors or carpets as markers or paint can.
Make Easy DIY Sidewalk Chalk!
This recipe is really easy, using ingredients you have in your own home. You can get paint powders, add a bit of tempera or watercolor paint, or color them naturally.
Ingredients and Equipment
- 15 eggshells, rinsed and dried
- flour
- hot water
- color
- sidewalk chalk molds: you can use empty toilet paper tubes for larger chalk or empty antiperspirant containers for smaller chalk
- Nonreactive bowls
- spoons
- spatula
- blender or food processor
Instructions
- Place the dry eggshells in the blender and pulse until they are a fine powder.
- In a bowl, mix flour and water at a ratio of one to one. So one Tablespoon flour to one Tablespoon water. Mix until you get a smooth paste.
- Next, add two Tablespoons of the eggshell powder into your sidewalk chalk dough.
- Add 1/4 teaspoon paint powder or a squirt of liquid paint. You can also use natural colors like paprika powder for orange, kelp for green, madder root powder for purple, or turmeric for yellow. There are many herbs and spices that can be used, just be aware that some may fade and some may turn brown or gray.
- Now, mix all of the ingredients together very well. You can use several bowls to make this in different colors. The mixture should be very thick. If it is too soft, add more eggshell powder.
- Once you have a thick paste, use the spatula to transfer it to the tubes. Pack it in well so that you don’t have any air spaces in your sidewalk chalk.
- Set aside to dry without the caps on for 5-6 days. It should be very hard when finished. If it still seems soft, let it continue to dry for a few more days.
Notes
Unless you can get the eggshells very fine, I would avoid using this on a chalkboard. Pieces of eggshells can harm the chalkboard surface. This chalk is intended for use on sidewalks. You can also add food color to your chalk to make this completely nontoxic if kids or pets should get a hold of it. Food color won’t be as dark, but will not harm someone if ingested.
Storing and Using your DIY Sidewalk Chalk
Store your sidewalk chalk in closed jars, or caps if using the antiperspirant tubes. Keep it in a cool dark place to avoid moisture hitting it and to keep it from fading.
Just for fun, I keep a large piece of chalk in my car in case I should come across something funny, like spilled french fries. I’ll draw a chalk outline around it like in the crime drama shows and stand back and watch the giggles.
Other Fun DIY Projects for Kids
Learning to make sidewalk chalk is easy and fun. Get the kids involved and make your own!
*******


