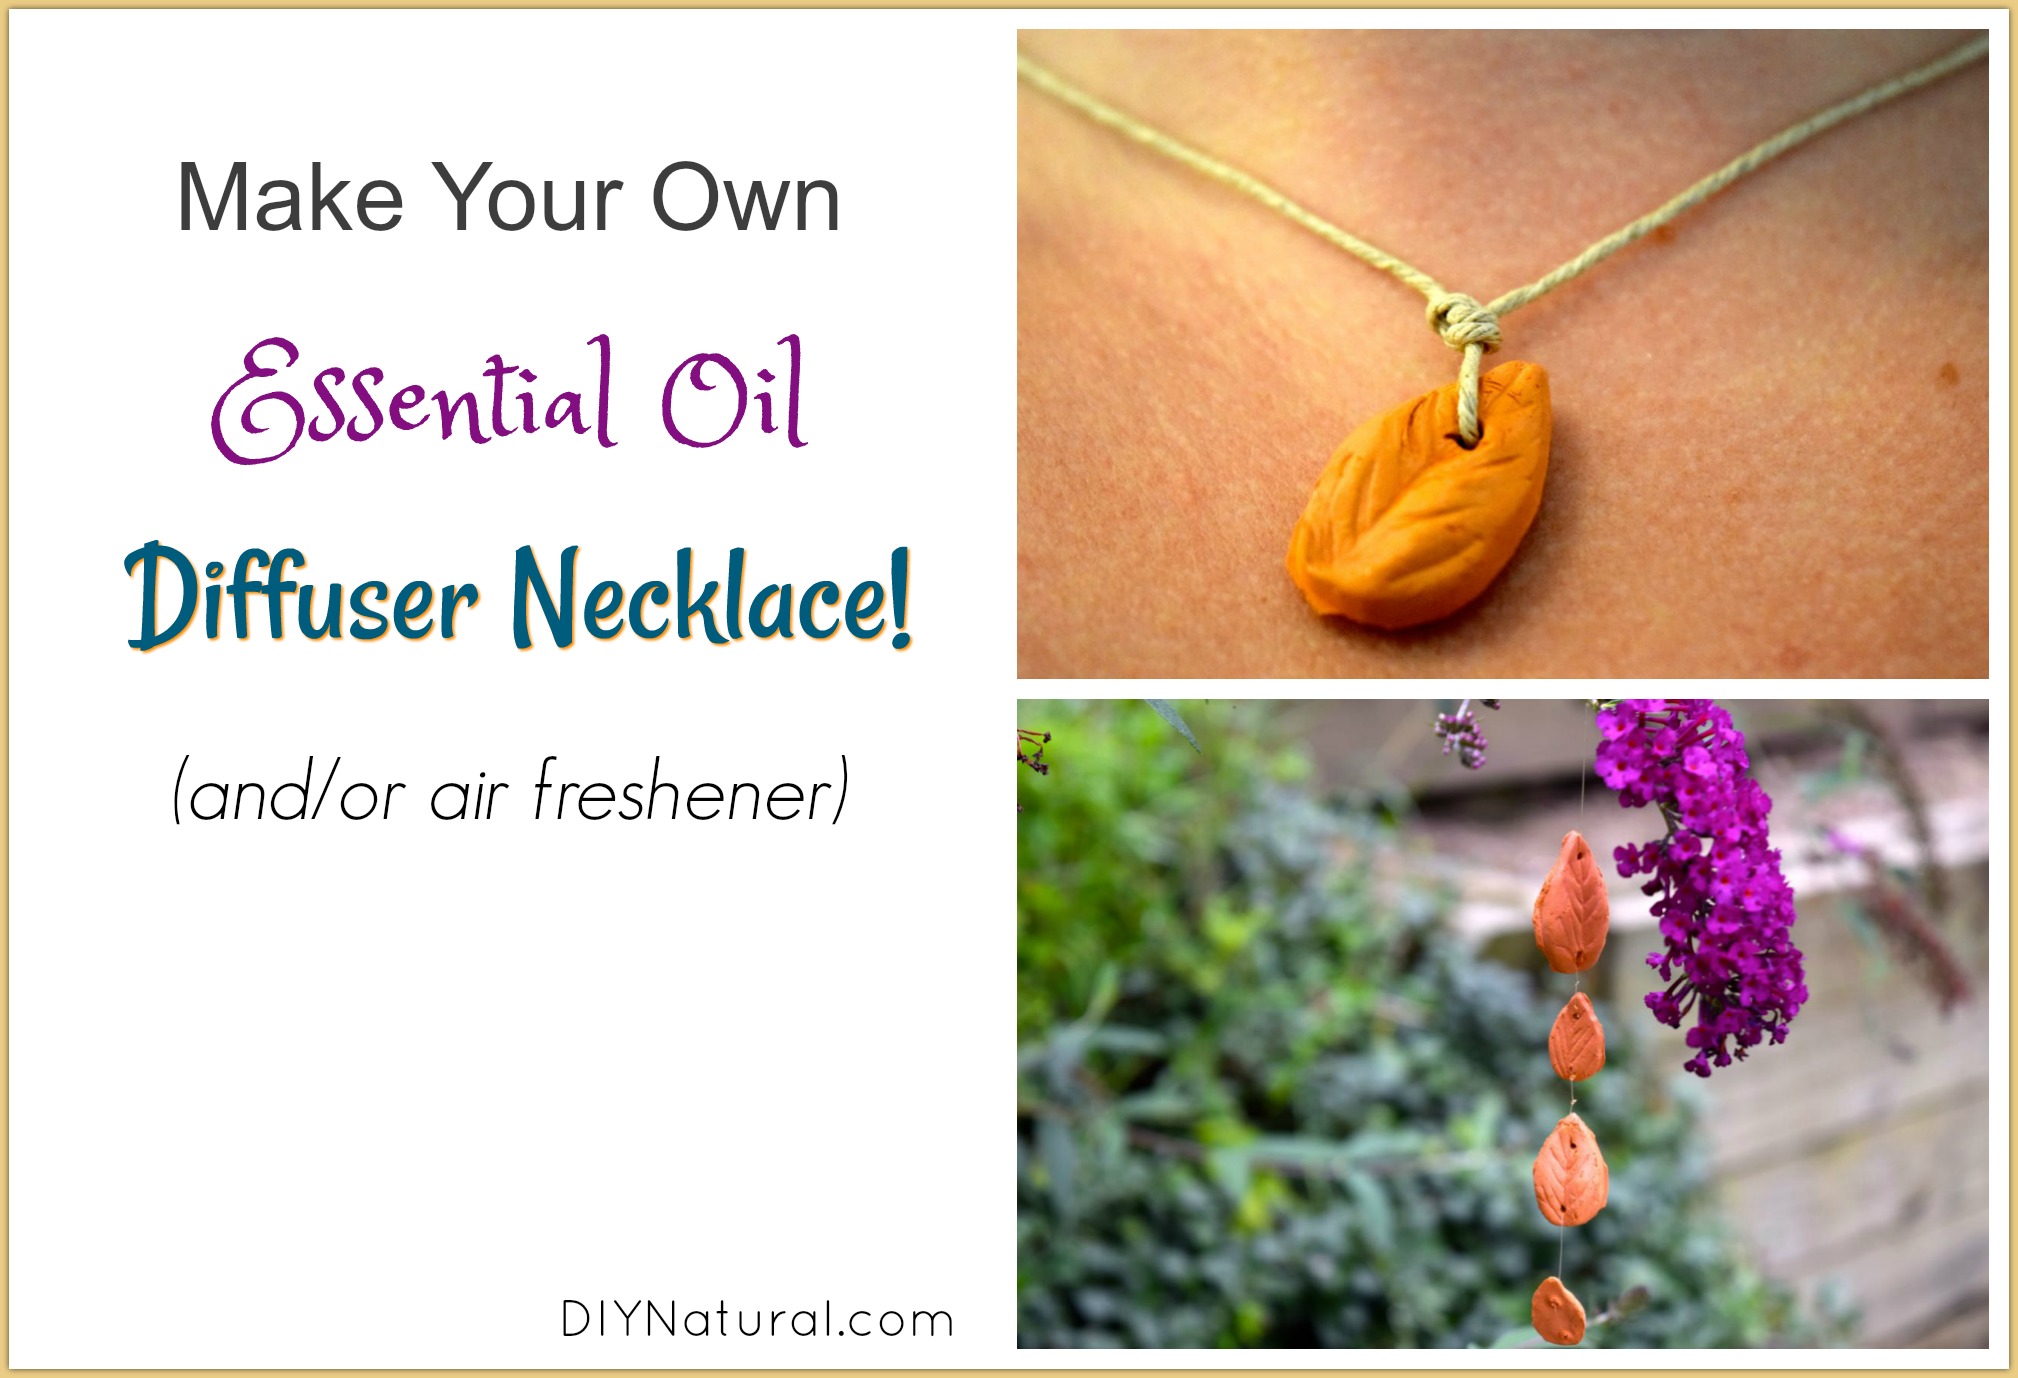
Make a DIY diffuser necklace out of natural terra cotta clay! The clay is affordable, easy to shape, and it retains grooves that trap essential oils.
Over the last few months, I’ve been eyeing up diffuser necklaces online. Some are pricey, some have beautiful designs, and others come with annoying filters you have to replace with each use.
Most are relatively affordable, some a little more expensive than others. I’ve seen ones made from stainless steel, lava rocks, and natural clays. I also came across natural diffuser pendants used as air fresheners and I really like this idea.
A few weeks ago I was making some crafts with my boys when I got out our natural terra cotta clay. As we were making handprints, I realized it could make excellent DIY diffuser necklaces! The clay retains nice grooves to trap the essential oils, plus it is really affordable and can be shaped in any way you’d like.
Making a DIY Diffuser Necklace (or Air Freshener)
Since I prefer more natural designs I took a trip to our local craft store to look for molds. I knew the molds would need to be relatively deep. Clay pendants need depth because they are prone to cracking. Also, there needs to be a small hole in the pendant to attach it to a string.
Fondant Mold
I ended up choosing a fondant mold (used for cake making). It was flexible enough and deep enough. Silicone soap molds or other clay molds would also work.
This recipe would also work without molds if you simply wanted round disks with a cut in (or stamp in) a design. Just make sure it is thick enough to hang on a string and has enough grooves for the essential oils.
Terra Cotta Clay
My next step was molding the clay for the diffuser necklace. Terra cotta is pretty soft clay, so it easily pushed into the molds. However, I encountered some problems when trying to get it out. At first, the clay stuck to the small grooves in the mold. I pushed it back in and popped the whole mold in the freezer. After thirty minutes I took the mold back out and the pendant came away from the mold beautifully!
Air Drying
Right after taking the pendant out of the mold I used a pushpin to create a small hole for the string. Then I allowed the clay to air dry for 3 days. After that, I used fishing line to tie the air freshener, and hemp string to tie the pendant.
All-in-all, I find that the aroma stays around for about a day before I need to refresh it. I put one of these pendants in my car and the aroma seems to linger a little longer there.
This DIY is easy, fun, and makes awesome gifts! You can also use different types of clay for different styles. I really like terra cotta, but there are quite a few varieties of natural clay that dry well.
DIY Diffuser Necklace (Pendant)
Ingredients
- Air Dry Terra Cotta clay (find it here or a similar one here if out of stock)
- molds (soap, fondant, other silicone type molds)
- string (hemp, fishing line, leather, etc.)
- push pin or needle to make a hole
- essential oils (find pure, therapeutic-grade EOs here)
- carrier oil (find several types here)
Instructions
- Push clay into molds, making sure there are no air bubbles.
- Place in the freezer for 30 minutes to one hour.
- Carefully remove from the mold.
- Make a small hole the thickness of your desired string.
- Allow drying for 2-5 days.
- Place on a string.
Instructions for essential oil application:
These instructions vary depending on whether you are using the pendants as air fresheners or jewelry.
Using Your DIY Diffuser Necklace
- Combine one drop of essential oil (or blend) with a teaspoon of carrier oil (olive, coconut, etc.)
- Rub on the pendant.
- Reapply as needed.
Note: For this method, be sure to use oils that are not “hot” like cinnamon, clove, peppermint, etc., as they could irritate the skin.
Using as a DIY Diffuser Air Freshener
- Place a drop or two of essential oil on the pendant.
- Hang and enjoy it.
- Add oil every 1-2 days or as aroma fades.
Tip: check out this other essential oil diffuser jewelry project using beads.
Have you made a diffuser necklace? If so, how did it go?
*******


I’d advise a skin test. Rub a little oil on the forearm and look for a reaction. I know you have a warning about the hot oils (which is super awesome) but people with sensitive skin should test just in case :). I like be the idea of making air fresheners. Great idea!
Dana – excellent advice. I agree with a skin test, it is always better to be safe than sorry especially when working with essential oils that may be new to the user. Thank you!